|
So, I was browsing through Pinterest as usual and I saw this post: http://www.pinterest.com/pin/42221315231679868/ and I was like: what kind of witchcraft is this?! No sew pillooooows, but how? So I watched the video and said: I can definitely be part of this magical world! I embarked on a journey to Joann's! Here's what I bought: **And I got kind of sidetracked, but don't mind me. 1-)Fabric 2-)Pillow stuffing 3-)Scissors (since I didn't have any) 4-)Heat N' Bond 5-)Wall decals to go with my new craft project! **side track moment** hehehe I spent $40. * I wasn't bothered by what I spent because I was already immersing myself on a serious internet hunt for some vintage pillows which retailed for $20 each. Do the math, five "18 vintage pillows for $20 each=$100. Tuti's Pillow project: $40 for materials for five pillows and a little sidetrack items. Awesome! 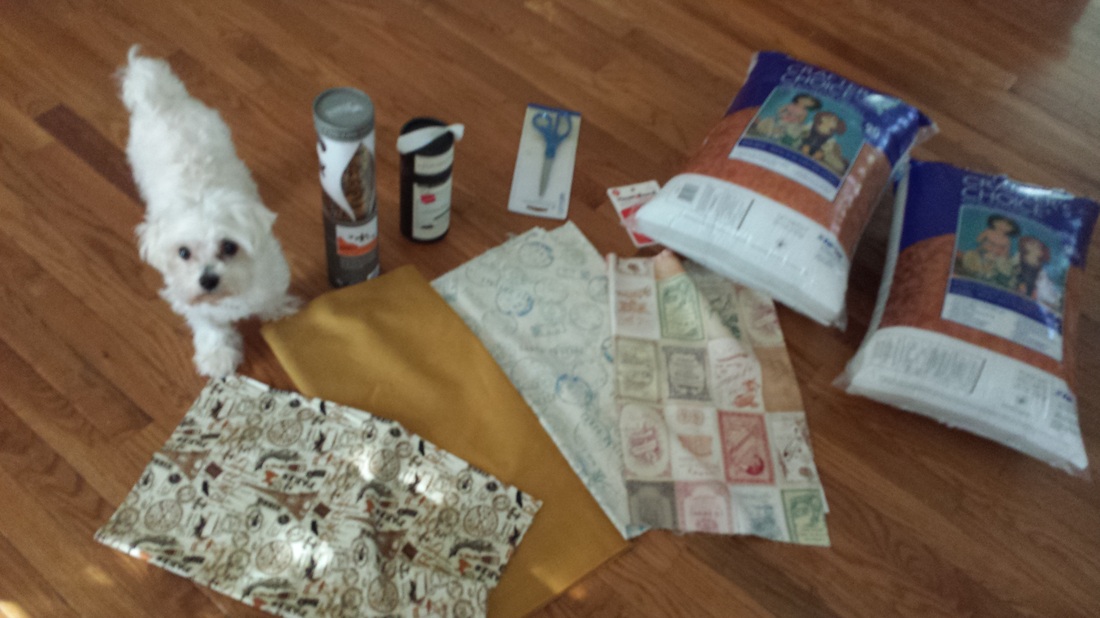
PS: Cute doggie not included! Haha. Before we start, this is all you have to know about Heat N' Bond for this project: rough side down, smooth side up. Steps: 1-)Iron fabric. **I asked the rep. at Joann's to cut my fabric to 18" size pillows...so my fabric was already prepared. 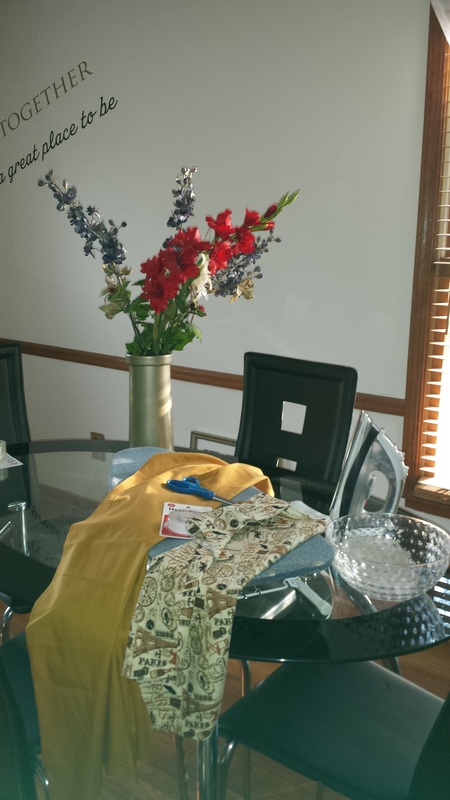
2-)Make right sides of fabric face each other. 3-)Place strip of Heat N' Bond about an inch from the edge of the fabric. 4-)Iron sides of fabric with Heat N' Bond in the two. Make sure to leave a space to stuff in pillow. 5-)Let cool and strip off smooth side of Heat N' Bond (Paper side). Iron both fabrics together. 6-)Reverse fabric carefully to right sides up. 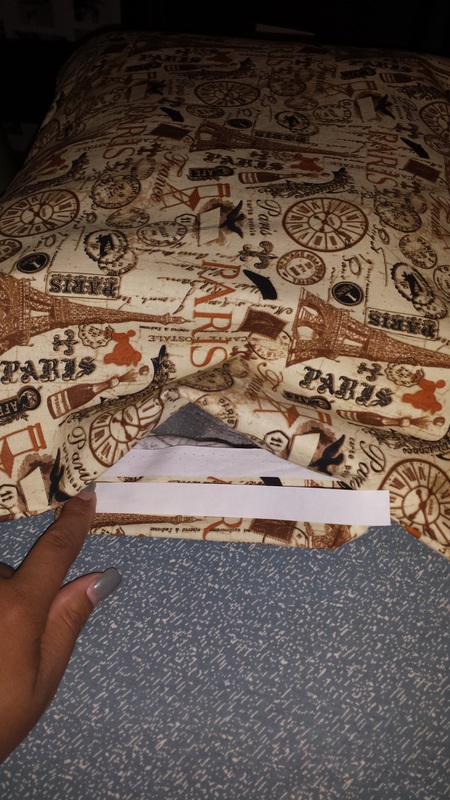
7-)Stuff pillow in through un-bonded side. 8-)Seal hole with small strip of Heat N' Bond. And Voila' you are DONE! My pillows are meant to be decorative only, so I didn't over-stuff them...I still have a closed bag of pillow stuffing for my next magical project! Muahaha **evil laugh** 
I LOVE them because they are slowly but surely turning our new entertaining area into a cutie patootie vintage heaven! 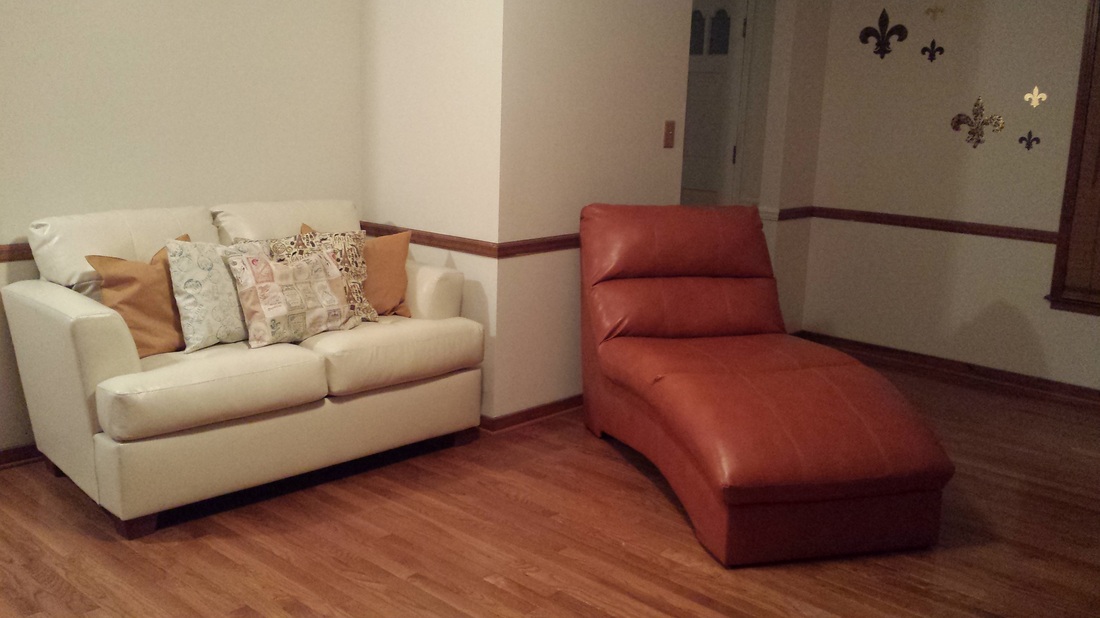
0 Comments
Your comment will be posted after it is approved.
Leave a Reply. |
Search the site...

 RSS Feed
